Resurrecting the Voice of the Mummy 2017
After reading through the game manual I downloaded from Richard's site I figured to simulate the record player what I needed was a way to randomly play an audio sample from the first side of the record when the player pressed a button. Then when a player got the “Great Jewel” and the Uraeus or "The Spell" as it is called in the game, I would need a way tell the controller that the second phase of the game had started so it would then play the second side of the record audio samples. Richard had also toyed with the idea of illuminating the Great Jewel and the Uraeus while the audio played in his MP3 player modification project so I needed to include LEDs too.
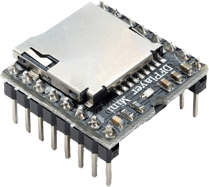
The Audio sound module:
Richard had the audio samples from all of the tracks on both sides of the record in MP3 format on his web site. In my Skull Tower project I had used a SOMO-14D sound module. It required AD4 formatted audio files. I found the DF-Player sound module that has the same size foot print but will play MP3 formatted files so no conversion would be necessary.
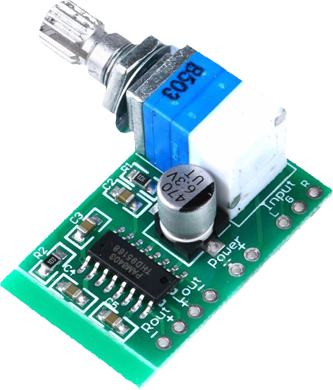
The AMP board was picked for 4 reasons.
1) I needed a small one that would run on 5 vdc.
2) Even though I can software adjust the volume on the DF Player, the user needed to easily be able to adjust it. I didn’t want the controls to get in the way of play.
3) I could remote mount the control where the speed controller was in the sarcophagus.
4) The power switch could be used to power the whole project.
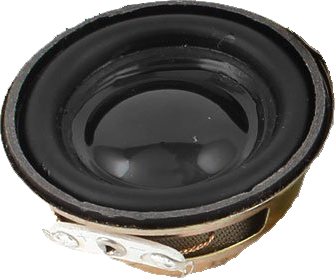
The Speaker is a 40 mm, 4 ohm, 3 watt unit that sounds great if you have it securely mounted so it doesn't vibrate while it plays.
User interface:
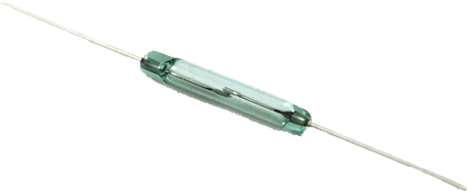
I decided that the best way to switch to the second phase or side two mode was to use a magnet on the “Great Jewel” to make and break a magnetic reed switch simply by removing the jewel from its holder when a player got it.
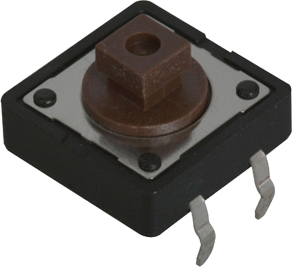
The play switch on the original record player was a physical slide mechanism that repositioned the needle and started the player. I just needed a momentary tactile push button switch.
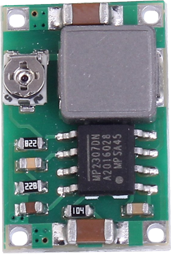
Power:
The Mini 360 step down buck regulator board is super small and very efficient. It will allow anything from 4.5 to 23 vdc to output 5 vdc.
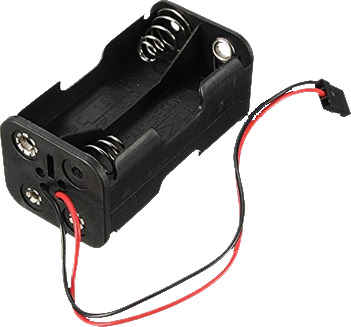
I was originally going to use a 9 volt battery but the demands from the AMP board made me decide on 4 AA batteries for better life expectancy.
Now that I had a plan, I bread boarded the controller circuit.
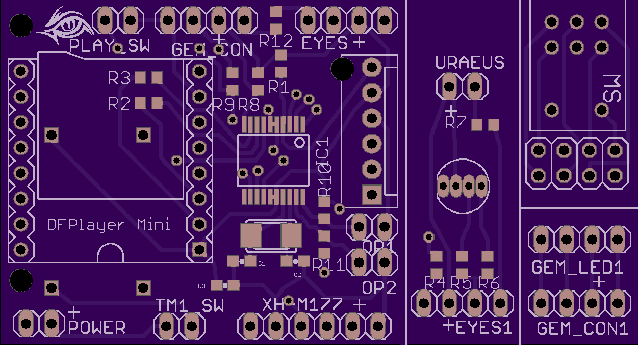
I was going to use a PIC 16F628A micro controller. It has 16 I/O, 2K of flash for program storage, 224 bytes of ram, and 128 byte of eeprom and can be had for less than $2. I wrote a basic functional firmware to test all of the hardware and once I had everything working I used Eagle Cad to design the circuit board. I was going to do this board using surface mount components instead of through hole because I had just gotten a new Hot Air Rework Soldering Station that I wanted to use. I uploaded the design to the board manufactures and ordered the boards.
Main Controller Board
Eyes
and
Uraeus
LED Board
Volume/Power
connector Board
Great Jewel
LED/Switch
Board
The PC Board is actually 4 boards in one. I just cut them apart when they came in. I did learn that a scroll saw is not what you want to use to cut PC boards. The up and down motion causes tremendous heat causing sparks and flames when cutting the boards. So I used my Dremel tool and all was fine.
The PC Board assembled with the DF-Player on the top and the AMP and power boards on the bottom.
Keep in mind that the speaker is not secured and is vibrating on the table because of the high volume. I was surprised how well it sounded once mounted in the sarcophagus and the lid was shut.
Previous Page Next Page
